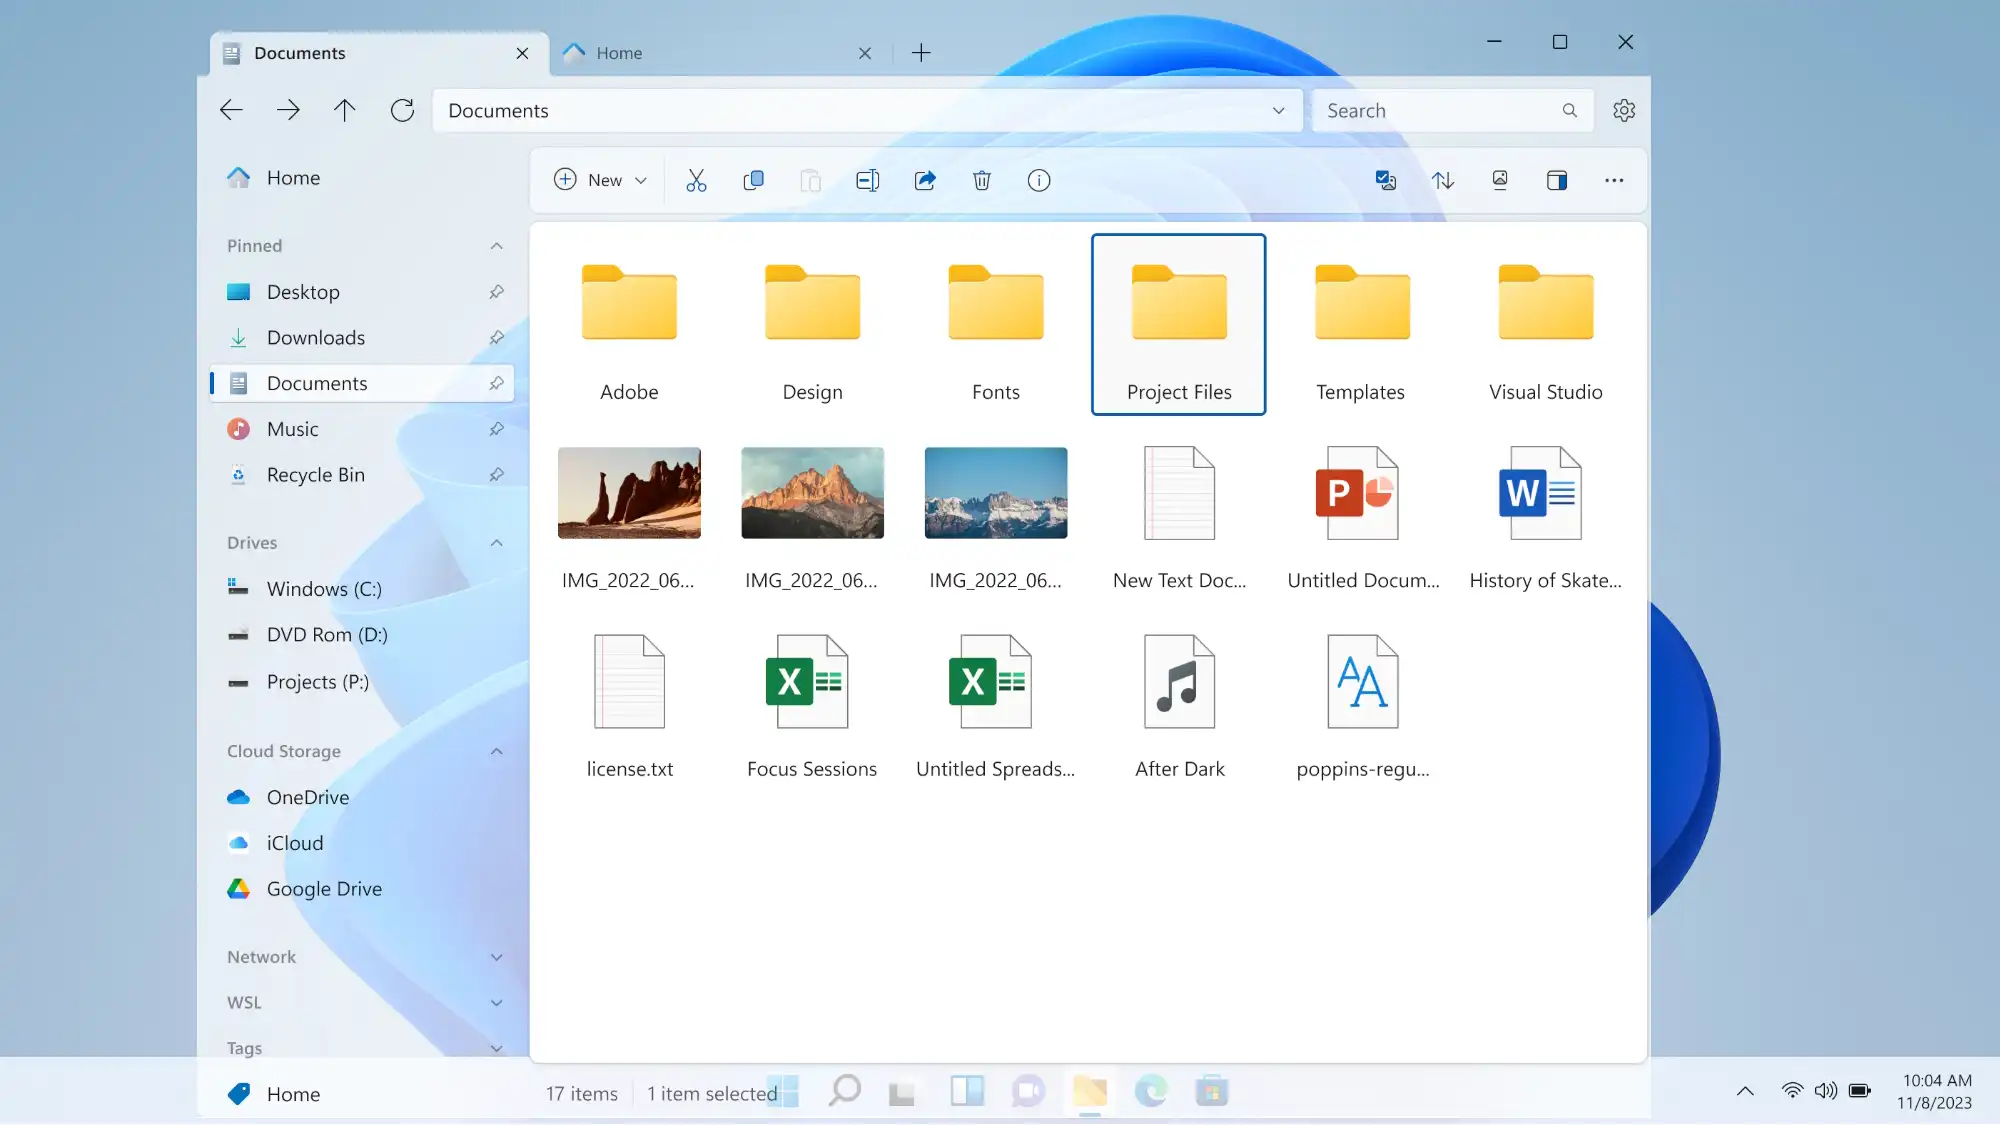
Windows File Explorer
Uploading files to a web server is a fundamental task for website management, enabling you to publish content, update files, or perform backups. While FTP (File Transfer Protocol) clients like FileZilla or WinSCP are commonly used, Windows File Explorer offers a built-in, user-friendly alternative for transferring files to a cPanel-hosted server without additional software. Supporting FTP, FTPS (FTP over SSL/TLS), and SFTP (Secure FTP over SSH) via network locations, File Explorer simplifies the process for beginners and small-scale uploads. This guide provides step-by-step instructions for uploading files using File Explorer in Windows, compares it with dedicated FTP clients, and includes security best practices, troubleshooting tips, automation considerations, and integration with cPanel features to ensure a secure and efficient workflow.

Why Use File Explorer for File Uploads?
File Explorer in Windows (previously Windows Explorer) allows you to connect to an FTP server as a network location, enabling drag-and-drop file transfers directly from your desktop. Key benefits include:
- No Additional Software: Uses Windows’ built-in FTP functionality, ideal for users avoiding third-party clients.
- Simplicity: Offers a familiar interface for dragging and dropping files, suitable for small or occasional uploads.
- Secure Options: Supports FTPS and SFTP (with SSH credentials), ensuring encrypted transfers when configured correctly.
- cPanel Compatibility: Seamlessly integrates with cPanel-hosted FTP accounts for website file management.
- Collaboration: Allows multiple users to upload files to specific directories using dedicated FTP accounts, enhancing teamwork.
File Explorer vs. Dedicated FTP Clients
While File Explorer is user-friendly, it has limitations compared to dedicated FTP clients:
- File Explorer: Best for small, occasional uploads (e.g., a few MBs). Lacks advanced features like transfer queues, resume capabilities, or automation. Supports FTP and FTPS natively, but SFTP requires third-party tools or SSH configuration.
- FTP Clients (e.g., FileZilla, WinSCP): Ideal for bulk transfers, large files (>100MB), or frequent uploads. Offer features like transfer resumption, synchronization, SSH key authentication, and scripting. Support FTP, FTPS, and SFTP seamlessly.
Prerequisites for Uploading Files with File Explorer
Before uploading files, ensure you have:
- cPanel Access: Log in to your cPanel account using the provided URL, username, and password from your hosting provider.
- FTP Account: Create an FTP account in cPanel or use your primary cPanel account. How to Create an FTP Account
- Server Details: Obtain your server’s hostname (e.g.,
ftp.yourdomain.com), IP address, username, password, and port (FTP/FTPS: 21, SFTP: 22, or custom). Check your hosting provider’s welcome email. - Windows PC: Use Windows 10 or 11, as File Explorer’s FTP support is built-in. Ensure Internet Explorer is installed, as it’s required for FTP functionality (default in Windows).
- Stable Internet Connection: Avoid network restrictions (e.g., workplace firewalls) that may block FTP ports (21 or 22). Test from a home network if issues arise.
Step-by-Step Guide to Uploading Files with File Explorer
Step 1: Create an FTP Account in cPanel
Create a dedicated FTP account for secure, restricted access:
- Log in to cPanel via
https://yourdomain.com/cpanelusing your cPanel credentials. - Navigate to Files → FTP Accounts in the cPanel dashboard.
- Under Add FTP Account, enter:
- Log In: Username (e.g.,uploader, becomesuploader@yourdomain.com).
- Domain: Select the associated domain for multi-domain accounts.
- Password: Use a strong password or cPanel’s Password Generator.
- Directory: Specify a directory (e.g.,public_html/uploads) to restrict access. For main website files, usepublic_html.
- Quota: Set a limit (e.g., 500 MB) or choose Unlimited. - Click Create FTP Account. Note the credentials for File Explorer setup.
Note: Your primary cPanel account (username and password) provides FTP access to the entire home directory (/home/username) without creating a new account.
Step 2: Connect to the FTP Server Using File Explorer
Map the FTP server as a network location in File Explorer:
- Open File Explorer by clicking the folder icon on the taskbar or pressing Windows + E.
- In the address bar, type the FTP server address:
- For FTP:ftp://ftp.yourdomain.com
- For FTPS (if supported):ftp://ftp.yourdomain.com(Windows File Explorer does not natively support explicit TLS; use a client for FTPS).
- For SFTP: File Explorer does not natively support SFTP. Use a third-party tool like WinSCP or map via SSH with PuTTY (advanced). How to Use SFTP with cPanel - Press Enter. A login prompt appears.
- Enter your FTP credentials:
- User name:uploader@yourdomain.com(or cPanel username).
- Password: The account password.
- Check Save password for convenience (use with caution on shared PCs). - Click Log On. File Explorer displays the server’s directory (e.g.,
public_html/uploads).
Alternative: Map as Network Location
- Right-click This PC in File Explorer and select Add a network location.
- Click Next, then Choose a custom network location.
- Enter the FTP address (e.g.,
ftp://ftp.yourdomain.com) and click Next. - Uncheck Log on anonymously and enter the username (e.g.,
uploader@yourdomain.com). - Name the location (e.g., “My Website FTP”) and click Next, then Finish.
- Enter the password when prompted. The server appears under Network locations in File Explorer.
Tip: Mapping as a network location saves the connection for quick access, ideal for frequent uploads.
Step 3: Upload Files
Transfer files to the server using File Explorer:
- Navigate to the server’s target directory in File Explorer (e.g.,
public_htmlfor main website files orpublic_html/uploadsfor restricted accounts). - Open another File Explorer window to locate local files (e.g.,
C:\Users\YourName\Documents\Website). - Select files or folders to upload. Hold Ctrl for multiple selections or Shift for a range.
- Drag and drop files from the local window to the server window, or copy (Ctrl+C) and paste (Ctrl+V) into the server directory.
- Monitor the transfer progress in the Windows copy dialog. For large files, expect slower speeds compared to FTP clients due to File Explorer’s lack of optimization. WPS Hosting FTP
- Verify uploads by refreshing the server directory (right-click → Refresh) or accessing files via your website (e.g.,
yourdomain.com/uploads/file.html).
Note: File Explorer is best for small uploads (50MB). For large files or bulk transfers, use a dedicated FTP client like FileZilla. Set Up FileZilla
Step 4: Manage Uploaded Files
Organize and maintain files on the server:
- Rename/Delete: Right-click files in File Explorer to rename or delete. Be cautious, as deletions are permanent unless restored via cPanel’s Trash. File Manager
- Create Folders: Right-click in the server directory, select New → Folder, and name it (e.g., “images”).
- Set Permissions: File Explorer does not support changing permissions (e.g.,
chmod). Use cPanel’s File Manager or an FTP client to set permissions (e.g.,644for files,755for directories).
Security Best Practices for FTP Uploads
Protect your data during uploads with File Explorer:
- Use FTPS or SFTP: Avoid unencrypted FTP, as it transmits credentials in plain text. File Explorer supports FTPS (implicitly, if server-configured) but not SFTP natively; use a client like WinSCP for SFTP.
- Restrict Directory Access: Limit FTP accounts to specific directories (e.g.,
/public_html/uploads) in cPanel to protect sensitive files. - Secure Credentials: Avoid saving passwords in File Explorer on shared PCs. Use cPanel’s Password Generator for strong passwords.
- Monitor Connections: Use cPanel’s FTP Connections to track and terminate active sessions, preventing unauthorized access.
- Disable Anonymous FTP: Prevent unauthorized uploads by disabling anonymous FTP in cPanel’s Anonymous FTP interface.
Limitations of File Explorer for FTP
While convenient, File Explorer has drawbacks:
- Limited Protocol Support: Natively supports FTP and partial FTPS; SFTP requires third-party tools or SSH mapping (advanced).
- No Advanced Features: Lacks transfer queues, resume capabilities, or automation, unlike clients like FileZilla or WinSCP.
- Performance: Slower for large files or bulk transfers due to basic FTP implementation.
- Error Handling: Provides minimal error details compared to FTP clients’ verbose logs.
For advanced needs, consider dedicated clients
- FileZilla: Open-source, supports FTP/FTPS/SFTP
- WinSCP: Windows-based, ideal for SFTP scripting
- CoreFTP: Free, lightweight, and reliable FTP client
- Fetch: A macOS FTP client, supports FTP/FTPS/SFTP
- Commander One: macOS dual-pane client for FTP/SFTP
- Cyberduck: Cross-platform, supports multiple protocols
Troubleshooting File Explorer FTP Issues
Address common upload issues with File Explorer:
- Connection Failures: Verify credentials (e.g.,
uploader@yourdomain.com), hostname (ftp.yourdomain.com), and port (21). Ensure FTP access is enabled in cPanel. Troubleshooting FTP Issues - Firewall Blocks: Open port 21 (FTP) or check for network restrictions. Try a different network (e.g., home Wi-Fi). File Explorer uses Active mode, which may require data ports (50000–65535); contact your host for Passive mode support.
- Authentication Errors: Reset passwords in cPanel’s FTP Accounts. Ensure the username includes the domain (e.g.,
user@yourdomain.com). - Directory Errors: Confirm the directory exists in cPanel’s File Manager (e.g.,
public_html) and has correct permissions (755for directories,644for files). File Manager - Slow or Failed Uploads: Limit uploads to small files (50MB) or switch to an FTP client for better performance. Check disk space or quotas in cPanel.
Tip: Use File Explorer’s error messages (e.g., “Access Denied”) or cPanel’s FTP logs (/etc/apache2/logs/domlogs/USERNAME) for diagnostics. Webalizer FTP
Automating File Uploads
File Explorer lacks automation capabilities, but you can explore alternatives for recurring uploads:
- Batch Scripts: Use Windows Command Prompt or PowerShell to script FTP uploads with
ftpcommands (less secure). Automating File Transfers - FTP Clients: Use WinSCP for SFTP scripting or FileZilla Pro for command-line automation. WinSCP Scripting, FileZilla
- cPanel Cron Jobs: Schedule SFTP uploads using SSH commands via cPanel’s Cron Jobs. Cron Jobs
Integrating with cPanel Features
cPanel enhances File Explorer uploads with robust tools:
- FTP Accounts: Create and manage accounts with restricted directories for secure uploads.
- FTP Connections: Monitor active sessions to manage upload performance or terminate unauthorized access. FTP Connections
- Webalizer FTP: Analyze upload activity to optimize workflows or detect issues.
- File Manager: Verify uploaded files, adjust permissions, or restore deleted files from Trash. File Manager
- Security Center: Enable SSH for SFTP or manage IP whitelists to resolve Connection Issues.
By using File Explorer in Windows to upload files to your cPanel-hosted server, you can manage your website efficiently without additional software. Follow these steps, prioritize secure protocols like FTPS or SFTP, and leverage cPanel’s tools to ensure a smooth and secure file transfer workflow.
FTP Tutorials and How-To Articles
Tweet Share Pin Email
Add Comment
This policy contains information about your privacy. By posting, you are declaring that you understand this policy:
- Your name, rating, website address, town, country, state and comment will be publicly displayed if entered.
- Aside from the data entered into these form fields, other stored data about your comment will include:
- Your IP address (not displayed)
- The time/date of your submission (displayed)
- Your email address will not be shared. It is collected for only two reasons:
- Administrative purposes, should a need to contact you arise.
- To inform you of new comments, should you subscribe to receive notifications.
- A cookie may be set on your computer. This is used to remember your inputs. It will expire by itself.
This policy is subject to change at any time and without notice.
These terms and conditions contain rules about posting comments. By submitting a comment, you agree with these rules:
- Although the administrator will attempt to moderate comments, not all comments can be moderated at all times.
- You acknowledge that all comments express the opinions of the original author and not those of the administrator.
- You will not post material which is knowingly false, obscene, hateful, threatening, harassing or invasive of privacy.
- The administrator has the right to edit, move or remove any comment for any reason and without notice.
Failure to comply with these rules may result in being banned from submitting further comments.
These terms and conditions are subject to change at any time and without notice.
 6 Best US Cities for Digital Nomad Entrepreneurs
 YouTube Tricks Tips and Hacks
 Optimizing a Drupal Website for Page Speed
 Ultimate Guide for The Best Joomla Resources
Comments