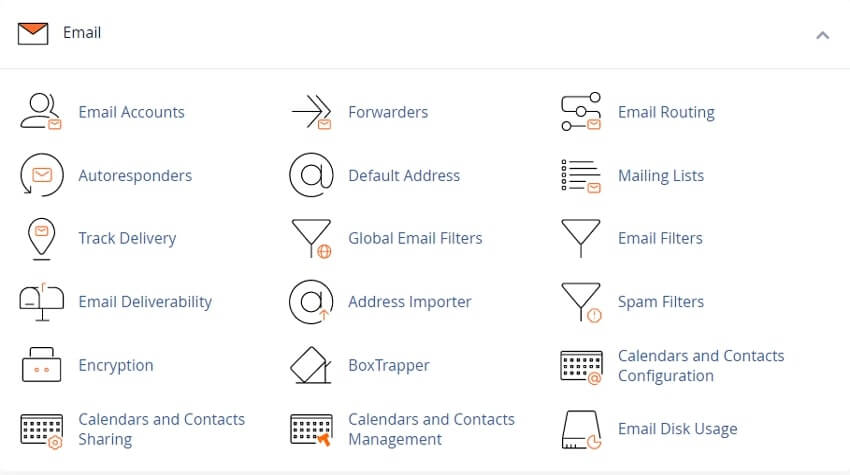
cPanel - Email - Autoresponders
This is a script that automates email replies. The script is triggered by user actions either on a site or when a user sends an email directly to another email address with an autoresponder in place.
Email autoresponders allow users to setup automatic responses to incoming emails. An example might be when a user is on a vacation. If some one sends them an email it will automatically send back a response letting them know you are not available. The message can be completely customized
Note: User-defined autoresponders ignore messages to which the Spam Filters feature assigns a score of 5 or higher.
Add an autoresponder
To create the Autoresponder first log into your cPanel account and select "Auto Responders" in the "Mail" section
On the next screen - if you have already create any Autoresponders they will be listed.
Click the "Add Auto Responder" button. A new interface will appear.
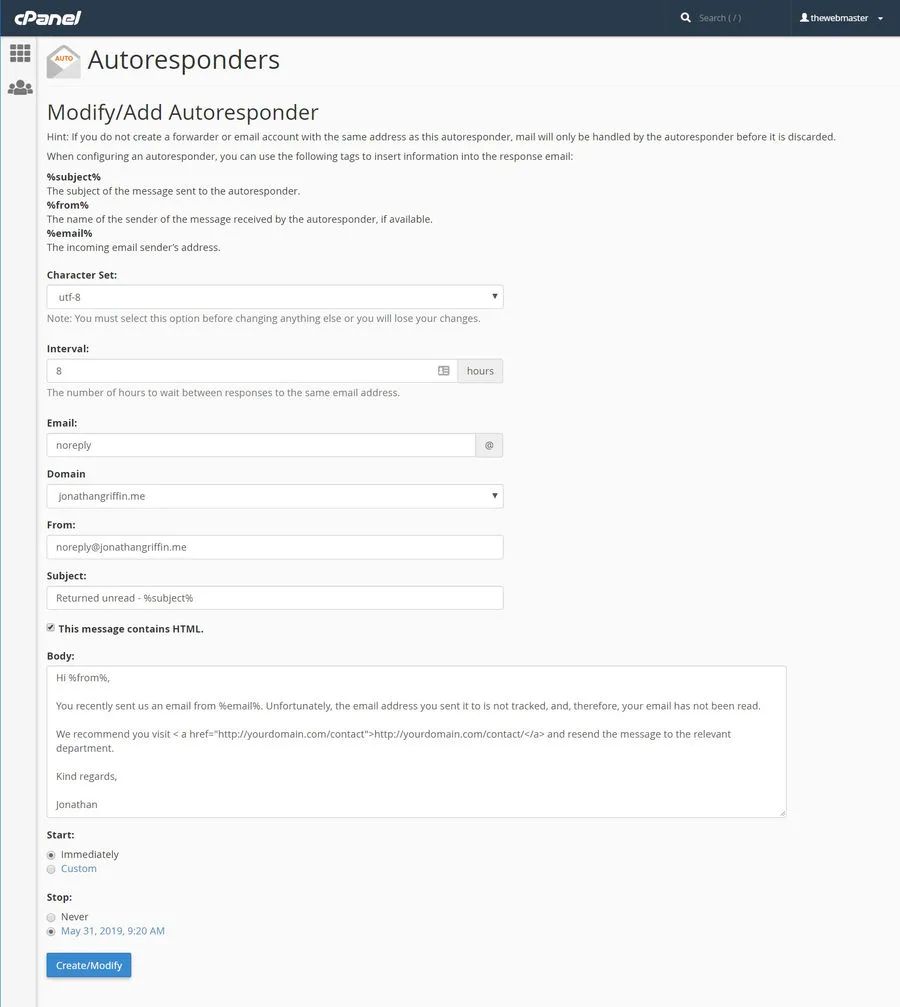
Select a character set from the Character Set menu.
Note:
The Character Set value defaults to utf-8 which works for most all formats. For more information read - Why You Should Use UTF-8 documentation.
Enter the interval, in hours, for the autoresponder to wait between responses to the same email address.
For example, an autoresponder with an interval of 24 that receives an email at 8:00 AM on Monday immediately responds to the message.
The autoresponder does not respond again if it receives a message from the same email address before 8:00 AM on Tuesday.
Note: If you set the interval to 0, the system sends an auto-response to every email.
In the Email text box, enter the email address for which to respond.
Important:
You can only add one autoresponder for each email address. If you attempt to add multiple autoresponders for an email address, an error message will appear in the interface.
In the "From" text box, enter the username to appear in the response.
In the "Subject" text box, enter the subject to appear in the response.
If the response message includes HTML tags, select the HTML checkbox.
In the Body text box, enter the text of the response, for example:
I am out of the office until July 2nd. You can reach me on my cell phone in case of emergencies.
Note: You can use the tags of %subject%, %from%, %email% tags in the body of the message to represent specific information.
They will grab the incoming senders "Email" address. "From" name as well as the "Subject" from the email and automatically place them in the responding message.
This can be very handy to give your autoresponders that personal touch.
Select a start time. You can choose Immediately or Custom.
Note: The system bases the time on the user’s workstation operating system time and translates it into Greenwich Mean Time (GMT).
This feature uses 12-hour notation and reformats times in 24-hour notation. For example, if you select 18:30 as the start time, the system automatically reformats the time as 6:30 PM.
Select a stop time later than the given start time. You can choose Never or Custom.
Click Create.
Add an autoresponder in Webmail
Important: You can only add autoresponders for non-default Email Accounts in Webmail. You cannot add an autoresponder for the default email account in Webmail.
You can add an autoresponder for your email account in Webmail.
To do this, perform the following steps:
Log in to your Webmail interface at https://rshweb.com:2096, where rshweb.com represents your email address’s domain.
From the email address menu at the top right corner of the interface, select Autoresponders. The Autoresponders interface will appear.
Follow the directions in the add an autoresponder section to add the autoresponder.
All email messages to your email account will receive this auto-response until you remove it.
Edit an autoresponder
To edit an autoresponder, perform the following steps:
Locate the autoresponder that you want to edit in the Current Autoresponders table and click Edit. A new interface will appear.
Edit the autoresponders information.
Click Modify.
Remove an autoresponder
To delete an autoresponder, perform the following steps:
Locate the autoresponder that you want to delete in the Current Autoresponders table and click Delete. A confirmation message will appear.
Click Delete Autoresponder.
Related cPanel Tutorials and How To Guides
Wide range of key features crucial for website management
Tweet Share Pin Email
Add Comment
This policy contains information about your privacy. By posting, you are declaring that you understand this policy:
- Your name, rating, website address, town, country, state and comment will be publicly displayed if entered.
- Aside from the data entered into these form fields, other stored data about your comment will include:
- Your IP address (not displayed)
- The time/date of your submission (displayed)
- Your email address will not be shared. It is collected for only two reasons:
- Administrative purposes, should a need to contact you arise.
- To inform you of new comments, should you subscribe to receive notifications.
- A cookie may be set on your computer. This is used to remember your inputs. It will expire by itself.
This policy is subject to change at any time and without notice.
These terms and conditions contain rules about posting comments. By submitting a comment, you agree with these rules:
- Although the administrator will attempt to moderate comments, not all comments can be moderated at all times.
- You acknowledge that all comments express the opinions of the original author and not those of the administrator.
- You will not post material which is knowingly false, obscene, hateful, threatening, harassing or invasive of privacy.
- The administrator has the right to edit, move or remove any comment for any reason and without notice.
Failure to comply with these rules may result in being banned from submitting further comments.
These terms and conditions are subject to change at any time and without notice.
 Online Privacy and Security, Protecting Your Privacy
 Will You Lose Business Without a Website
 The Importance of a Mobile-Friendly, Responsive Website
 Most Important Factors When Choosing a Hosting Company
Comments