cPanel - Email - Address Importer
The Address Importer interface allows you to use two types of files to create multiple email addresses or Forwarders for your account simultaneously. You may use Microsoft Excel spreadsheet files (.xls) or comma-separated values sheet (CSV) files (.csv) to import data.
Create the import file
To create the import file, add a series of email addresses and passwords to your spreadsheet or plain text file. For each account forwarder, use a separate row in the spreadsheet or a new line in the plain text file to separate the information for each account or forwarder.
Import the following information for each address or forwarder:
Usernames (for example, name1 or name@rshweb.com).
The interface does not require the domain name portion of the address (for example, @rshweb.com).
Passwords (to import email addresses).
Quotas (for example, 10 indicates 10 megabytes).
A .csv file is a plain text file with the .csv extension. When you use a .csv file, separate your email addresses and passwords consistently. Use commas (,), periods (.), or any other character (delimiter), to separate the information that you wish to import for each account.
Your .csv file will resemble the following example:
name1@rshweb.com, Password, 10
name2@rshweb.com, Password, 10
name3@rshweb.com, Password, 10
Import the file
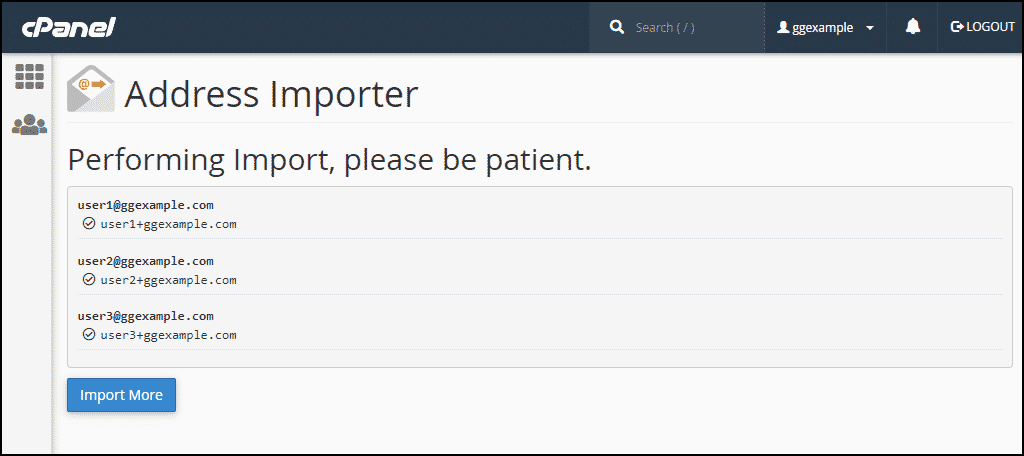
Import the file to create the accounts. cPanel uses the information in the file to create all of the accounts automatically.
To import the file, perform the following steps:
1) Select E-mail Accounts or Forwarders.
2) Click Choose File to select the file to import.
3) Select the character that you used as the delimiter. If you used a delimiter that does not appear in the list, select Other and enter that character in the Other text box.
4) Select "Treat first row as column headers" if you placed column headers in the first row of the file.
Click Next.
Use the menus above each column of values to assign the properties of each delimited value.
For example, if you chose to use a comma as the delimiter, and input the line account, password, domain name, use the menus above each value to assign account to Email, password to Password, and domain to domain name.
Select Ignore for columns that contain unnecessary data.
From the domain name menu at the bottom of the interface, select the domain to use for these accounts.
Click Next.
Click Finish.
Click Import More to return to the first screen of this interface and import additional addresses.
Related cPanel Tutorials and How To Guides
A beginners guide to cPanel Step by step tutorials
Tweet Share Pin Email
Add Comment
This policy contains information about your privacy. By posting, you are declaring that you understand this policy:
- Your name, rating, website address, town, country, state and comment will be publicly displayed if entered.
- Aside from the data entered into these form fields, other stored data about your comment will include:
- Your IP address (not displayed)
- The time/date of your submission (displayed)
- Your email address will not be shared. It is collected for only two reasons:
- Administrative purposes, should a need to contact you arise.
- To inform you of new comments, should you subscribe to receive notifications.
- A cookie may be set on your computer. This is used to remember your inputs. It will expire by itself.
This policy is subject to change at any time and without notice.
These terms and conditions contain rules about posting comments. By submitting a comment, you agree with these rules:
- Although the administrator will attempt to moderate comments, not all comments can be moderated at all times.
- You acknowledge that all comments express the opinions of the original author and not those of the administrator.
- You will not post material which is knowingly false, obscene, hateful, threatening, harassing or invasive of privacy.
- The administrator has the right to edit, move or remove any comment for any reason and without notice.
Failure to comply with these rules may result in being banned from submitting further comments.
These terms and conditions are subject to change at any time and without notice.
 Privacy Tips, Hide - Remove Yourself from Search Directories
 Secure Mobile Transactions, Security For Mobile Devices
 How To Block Spam, Robotexts and Unwanted Text Messages
 Ultimate Guide to Creating Strong Passwords With Expert Tips
Comments