CPANEL TUTORIALS & GUIDES
This feature in cPanel will let you create, manage, and delete Email accounts associated with your domain name
You can set account storage quotas, change passwords, and more.
You can access you email by using Webmail from your Browser, or by using a E-mail client such as Microsoft Outlook, Thunderbird etc.
Follow these steps to create an email account in cPanel
1) Log in to your cPanel
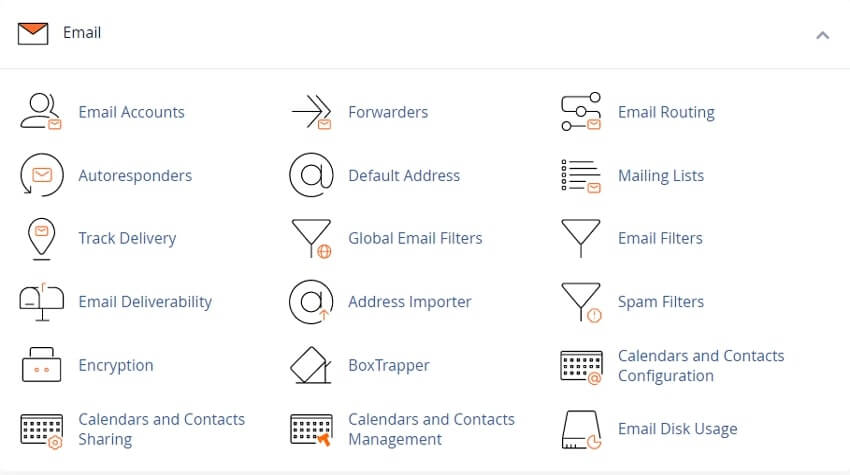
2) Under the "Email" section click on " Email Accounts"
3) Click on button to create an email account
If you have multiple Domain Names, select the domain you want your email account to be associated with in the drop-down list in the top right corner
4) Enter the desired email (user name) and a strong password of your choice
You can also perform the following actions:
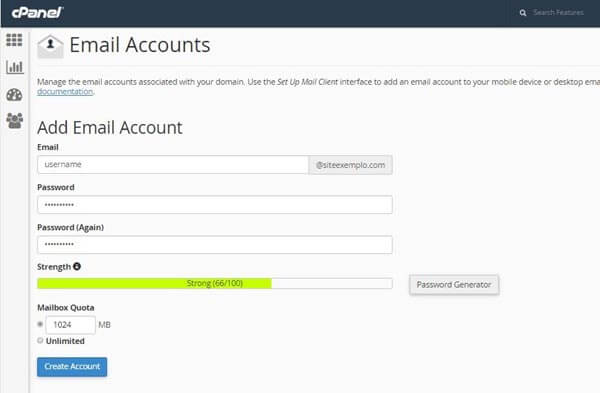
If all looks good, click on "Create Account"
Important: To set up a mail client for your email account, read cPanels Set Up Mail Client documentation.
This area of the interface provides details about your email account quotas. It displays the total number of email accounts you can create. It also lists the current number of created email accounts.
Note: The infinity icon (∞) indicates that your account has an unlimited quota.
The total number of accounts does not include the cPanel account’s system user email account.
Some hosting providers allow their users to purchase quota increases. When this is available, the interface will display Buy More in this section.
For more information about how to manage your new email account, read cPanel's Manage Email Accounts documentation
The section manages Optional Settings for your email account.
In the Storage Space section, perform one of the following actions:
1) Enter a custom disk storage size to limit the account’s email quota size.
2) Select Unlimited if you do not want to limit the account’s email quota size.
In the Automatically Create Folders for Plus Addressing section, select one of the following settings:
1) Automatically Create Folders,
• When you receive an email that uses plus addressing, the system will create a new folder.
• The server moves a message that uses plus addressing to a designated folder if the folder exists.
• For example, the system would place a message to user+plusaddress@example.com in the plusaddress folder.
2) Do Not Automatically Create Folders.
• When you receive an email that uses plus addressing, the system will not create a new folder.
• Instead, it delivers the message to the INBOX folder.
3) Select the Send welcome email with instructions to set up a mail client checkbox to send the user mail client set up instructions.
• The user can access this message via Webmail. This message contains the mail client details and the .mobileconfig file for Apple® devices.
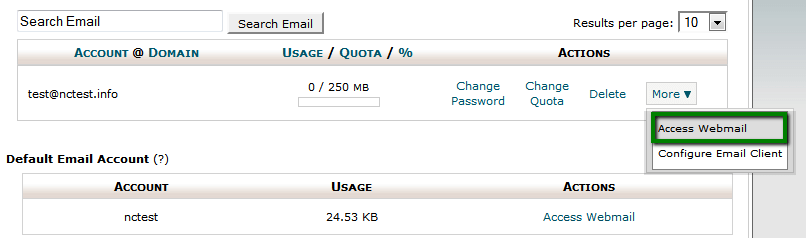
Click on Check Email next to the email account in question - |Access Webmail|
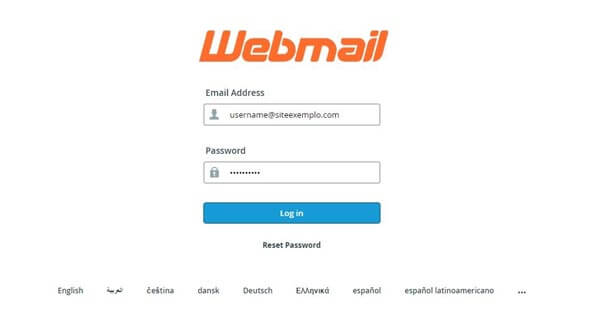
You will be prompted to enter the email password
https://rshweb.biz:2096
https://yourdomain.com:2096
Tweet Share Pin Email
This policy contains information about your privacy. By posting, you are declaring that you understand this policy:
This policy is subject to change at any time and without notice.
These terms and conditions contain rules about posting comments. By submitting a comment, you agree with these rules:
Failure to comply with these rules may result in being banned from submitting further comments.
These terms and conditions are subject to change at any time and without notice.
 Restaurant, Food, Bar and Drink Domains For Your Website
 Sports Domain Name Extensions for your Website
 What Are The Advantages and Benefits of Dot ORG Domains
 Easy Guide For Beginners To Make a Professional Website
Comments